
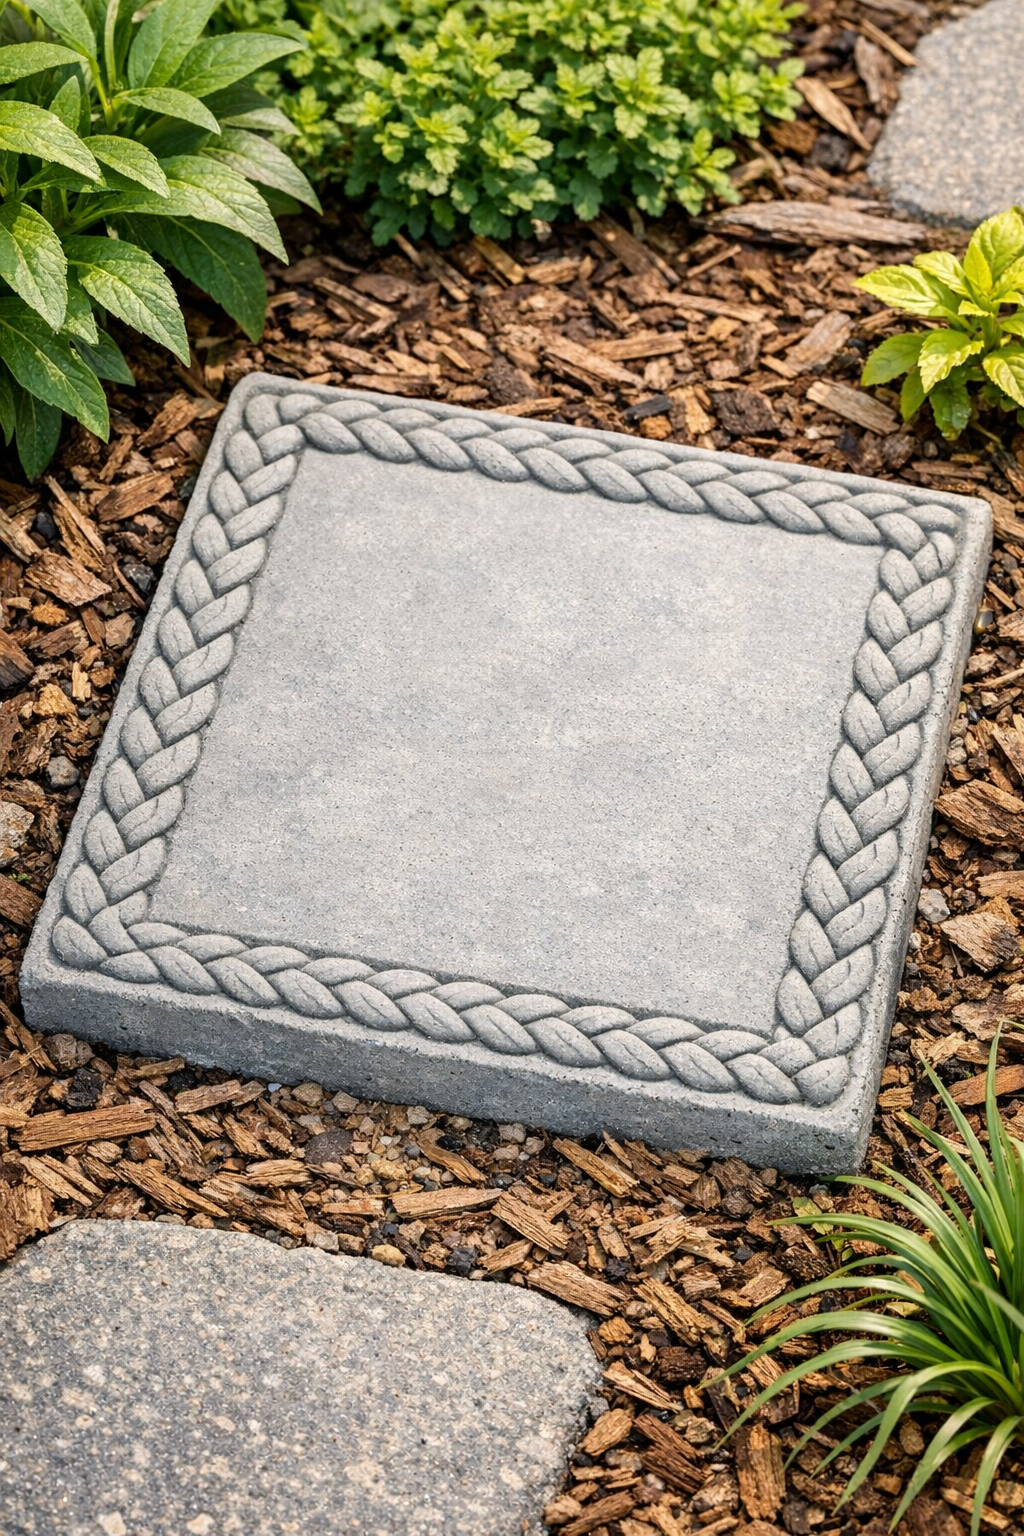
There is something mighty satisfying about making a plain little garden paver look like it came straight from a fancy garden center. This project uses wet cement and a length of plastic jump rope pressed right into the edges to create a braided border pattern, and the result is tidy, sturdy, and surprisingly polished. If you enjoy simple outdoor projects that do not require special skills, this is a good one to try.
I have always had a soft spot for practical prettiness in the yard. Around here in the Midwest, we use what we have, make it last, and still like things to look nice while they are doing their job. These pavers are a fine fit for a cottage garden path, a spot beneath a hose reel, or a little walkway to the back steps. If you can mix cement and press a pattern into it, you can make these.
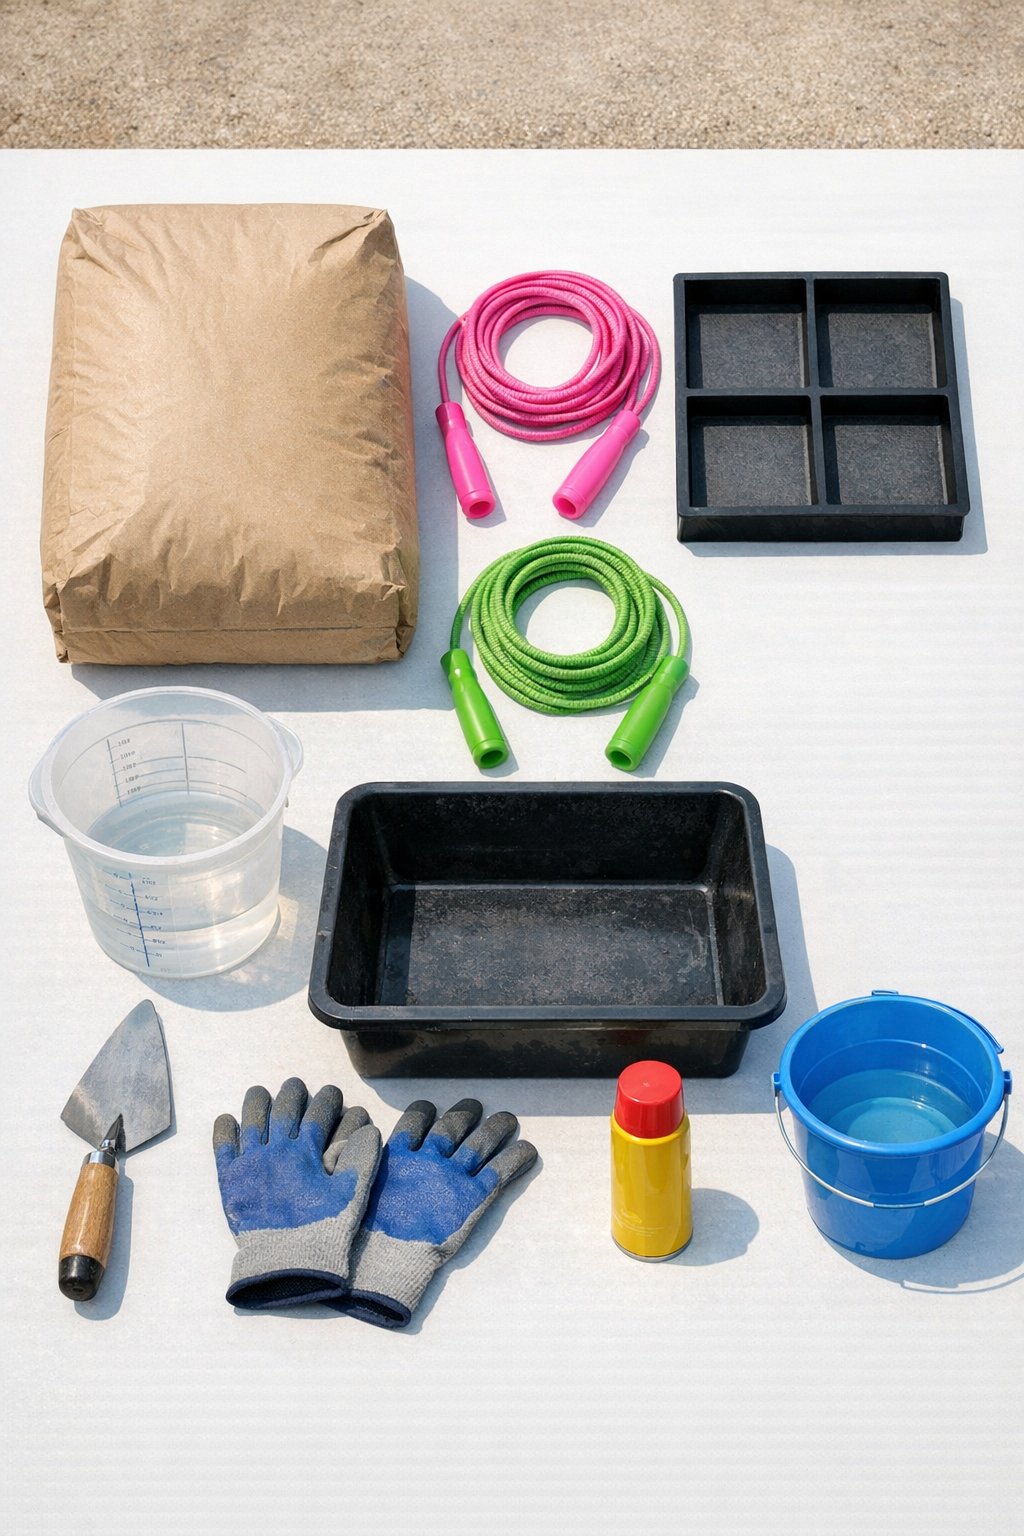
Materials
Instructions
1. Set your mold on a flat board in a shaded, level spot, then lightly coat the inside with cooking spray so the cement will release cleanly later.
2. Cut the jump ropes into lengths that will fit around the inside edge of your mold; for a 12-inch square mold, cut four 12-inch pieces and four short corner pieces about 2 inches each if needed for a tighter fit.
3. Mix the concrete in a tub with about 2 cups of water, adding a little more only if necessary, until it is the texture of thick oatmeal and holds its shape when scooped.
4. Scoop the wet concrete into the mold until it is about half full, then tap the sides of the mold several times to settle the mix and release trapped air.
5. Fill the mold to the top and smooth the surface with a trowel, keeping the top as level as you can without overworking the cement.
6. Press the cut jump-rope pieces gently around the perimeter, laying them just into the wet surface so the rounded rope creates a braided-looking border impression along the edge.
7. Check the border depth all the way around and press any uneven sections so the pattern sits consistently, then lightly tap the mold again to help the rope settle in place.
8. Leave the paver undisturbed until the concrete firms up, usually 30 to 60 minutes for fast-setting mix, then carefully lift the jump rope pieces straight out before the slab becomes too hard.
9. Let the paver cure in the mold for 24 hours, then turn it out onto a flat surface and keep it lightly covered or shaded for another 2 to 3 days to strengthen.
10. Sand any sharp edges lightly with 120-grit sandpaper, then place the finished paver in the garden on packed soil, sand, or gravel so it sits level.
Variations & Tips
Round paver option: If you use a round mold, coil one long length of jump rope around the edge in a smooth circle instead of cutting separate pieces for corners.
Color change: A little masonry pigment can be added to the concrete if you want a warmer stone look, though I think the plain gray has a timeless farm-garden charm.
Cleaner impressions: If the rope sticks when you remove it, wait just a few more minutes for the surface to firm up, then pull it out slowly and straight up rather than dragging it sideways.
Best placement: These are ideal for light foot traffic and decorative garden paths; for a heavily used walkway, make several matching pavers and set them over a compacted base.
Make-ahead tip: I like to make a small batch of these one afternoon and let them cure all week, the same way my mother used to leave fresh concrete alone and say, "The less you fuss, the better it sets."
Pattern idea: Try pressing the rope slightly farther from the edge to create a framed look, especially if you plan to stamp a leaf, shell, or simple hand-drawn motif in the center.