
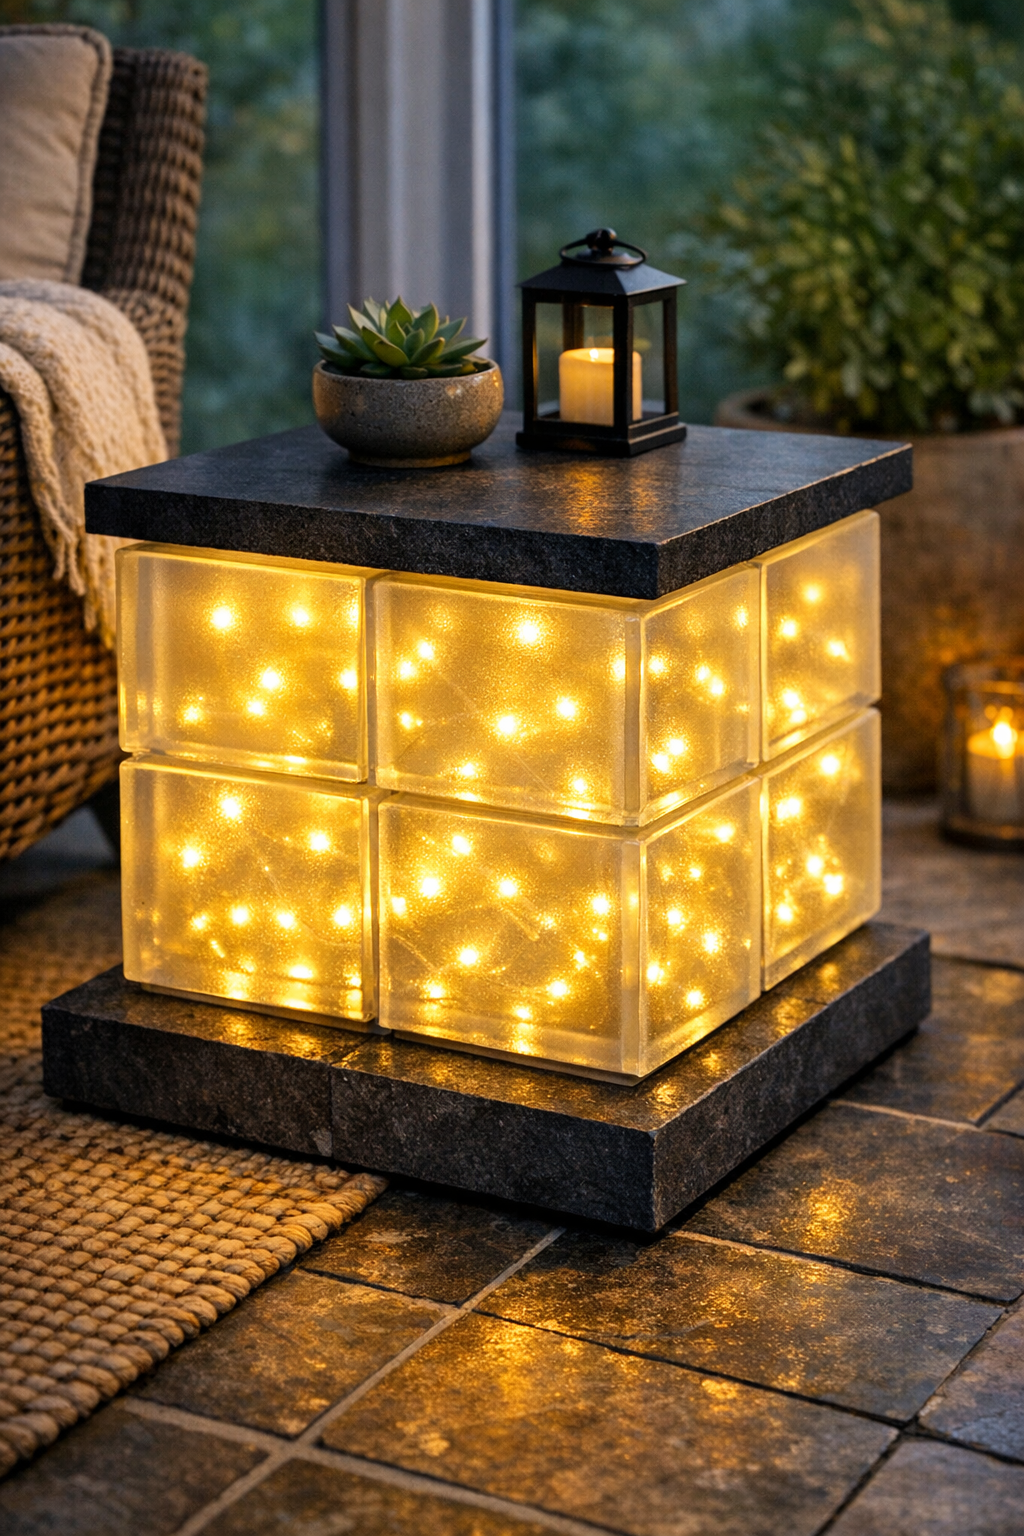
I love a project that looks high-end but is secretly very doable on a free Saturday afternoon, and this glowing side table checks every box. It’s made by stacking glass blocks around a strand of solar fairy lights and anchoring everything to a dark slate tile base, so you end up with a modern little accent table that glows beautifully at night without needing an outlet.
This is a great build for anyone who wants statement décor without getting deep into power tools or complicated woodworking. I’m always looking for projects that make my patio or sunroom feel a little more finished with minimal fuss, and this one has that “where did you buy that?” look while still being simple enough for a beginner.
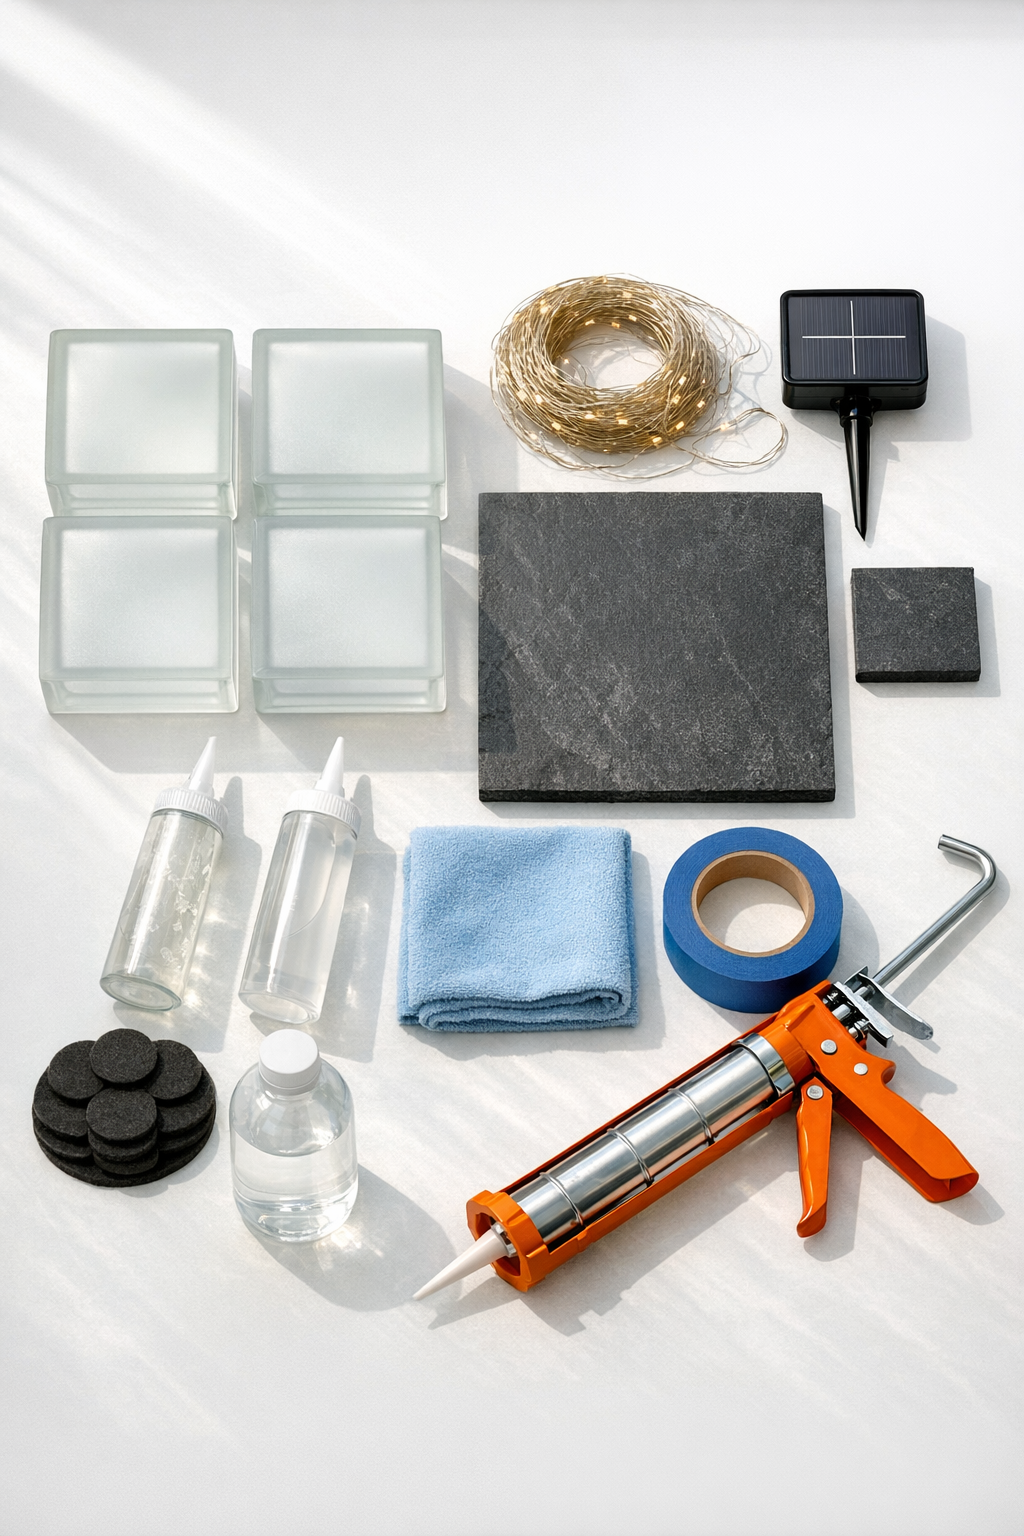
Materials
Instructions
1. Clean the glass blocks and both slate tiles thoroughly with rubbing alcohol and a microfiber cloth so the adhesive bonds well. Let every surface dry completely before you start stacking.
2. Place the 12 x 12 inch slate tile on a flat work surface and add four felt pads to the underside corners. This protects your floor and keeps the base from scratching anything later.
3. Dry-fit the four glass blocks on the slate base in a tight square, leaving a hollow center for the lights. Adjust the layout until the edges look even and the tabletop tile will sit centered on top.
4. Run a thin, continuous bead of clear construction adhesive on the base where each block will sit. Set the blocks back into place one at a time, pressing gently so they bond to the slate.
5. Add a narrow bead of adhesive anywhere the glass blocks touch each other, then press the joints together carefully. Use painter’s tape across the seams if needed to keep the blocks aligned while the adhesive grabs.
6. Coil the solar fairy lights loosely into the center cavity and thread the wire so the solar panel can reach a sunny window, porch edge, or patio side. Keep the lights airy rather than packed tight so the glow looks more even.
7. Apply a bead of clear construction adhesive along the top edges of the glass blocks. Center the 10 x 10 inch slate tile on top and press down gently to create the tabletop.
8. Check that the top tile is level and adjust it within the first couple of minutes before the adhesive starts to set. Wipe away any visible squeeze-out right away with a clean cloth.
9. For a cleaner finished look, run a very small line of clear silicone along any visible gaps where the glass meets the slate. Smooth it with a damp fingertip or silicone tool, then let it cure according to the package directions.
10. Allow the table to cure on a level surface for at least 24 hours, or longer if your adhesive recommends it. Once fully set, place the solar panel where it gets direct sun and switch the lights on at dusk.
Variations & Tips
Use clear blocks instead: If you prefer a sharper, brighter sparkle, swap frosted glass blocks for clear ones. Frosted blocks give a softer glow, which I personally love in the evening.
Choose the right top: A 10 x 10 inch top keeps the proportions neat, but you can go up to 12 x 12 inches if you want a slightly larger tabletop. Just make sure it doesn’t overhang so much that the table feels top-heavy.
Try different light colors: Warm white looks the most upscale, but cool white gives it a more modern look. I’d skip multicolor for this build unless you want a playful outdoor party vibe.
Place the solar panel strategically: If you’re using this indoors near a sunny window, test the panel location before final styling. On my own projects, the difference between “some sun” and “full afternoon sun” is usually the difference between a faint glow and a really pretty nighttime shine.
Keep it decorative-duty: This works beautifully as a side table for light items like a drink, candle, or small planter, but I wouldn’t use it as a seat or for very heavy loads. Glass block builds are sturdy when assembled well, but they’re still best treated like accent furniture.
Make cleanup easier: Painter’s tape along the glass edges before gluing can help keep adhesive lines extra tidy. If you’re squeezing this project into a busy weekend like I usually do, that little prep step saves time later.